.svg)


Tile Spacers Guide: What Size to Use, How to Place, and Why It Matters
ByAditi Bardhan
Sun , May 31 , 2026
Read Time: 5 Min
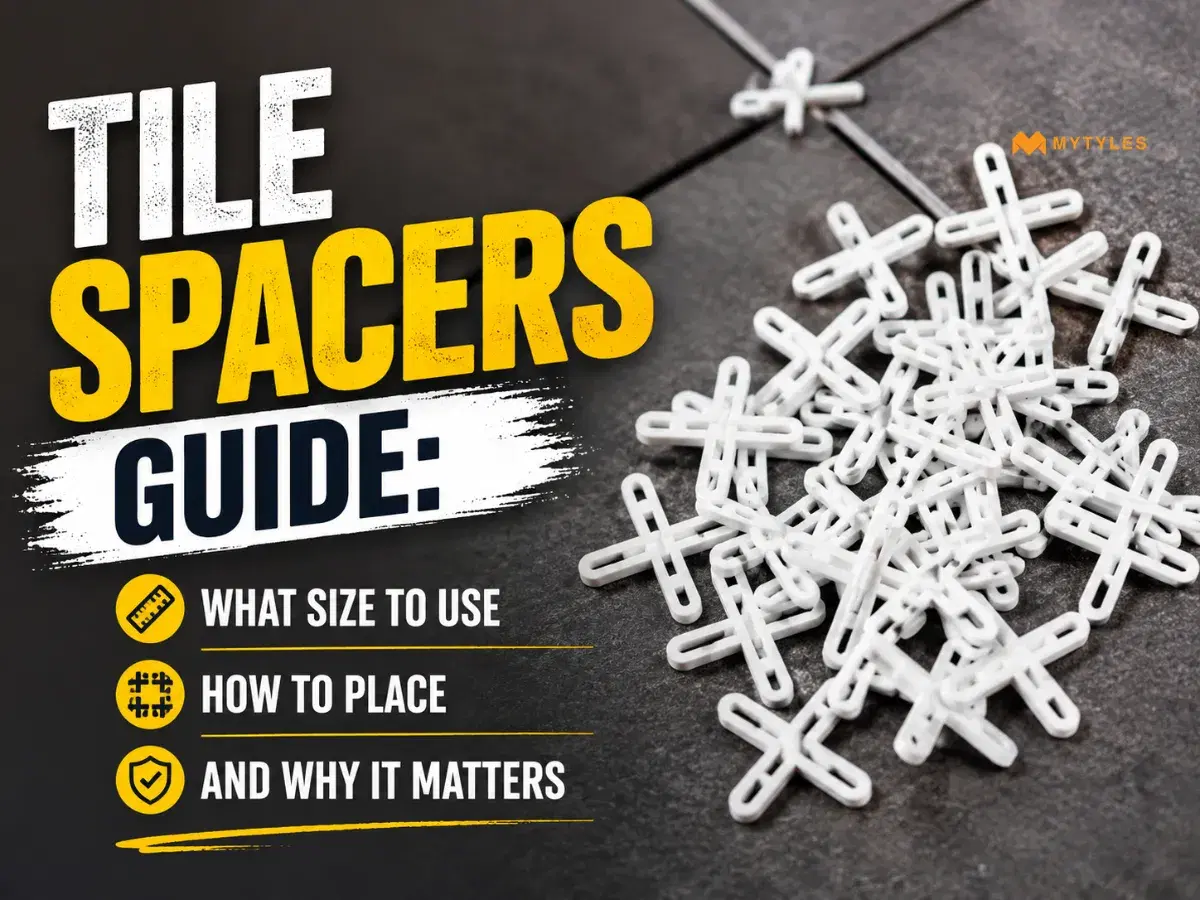
Ever wondered why some tiled walls look sleek and flawless while others seem uneven and sloppy? The secret often lies in a tiny piece of plastic, i.e., the tile spacer. Though small, spacers are the backbone of a neat tiling job, creating perfectly even gaps between tiles so grout can settle properly. Skip them, and you risk crooked lines, cracked tiles, or a finish that looks rushed. In this guide, we’ll walk you through the sizes, placement techniques, and the big reasons why these little tools matter.
What Are Tile Spacers and Why Do They Matter?
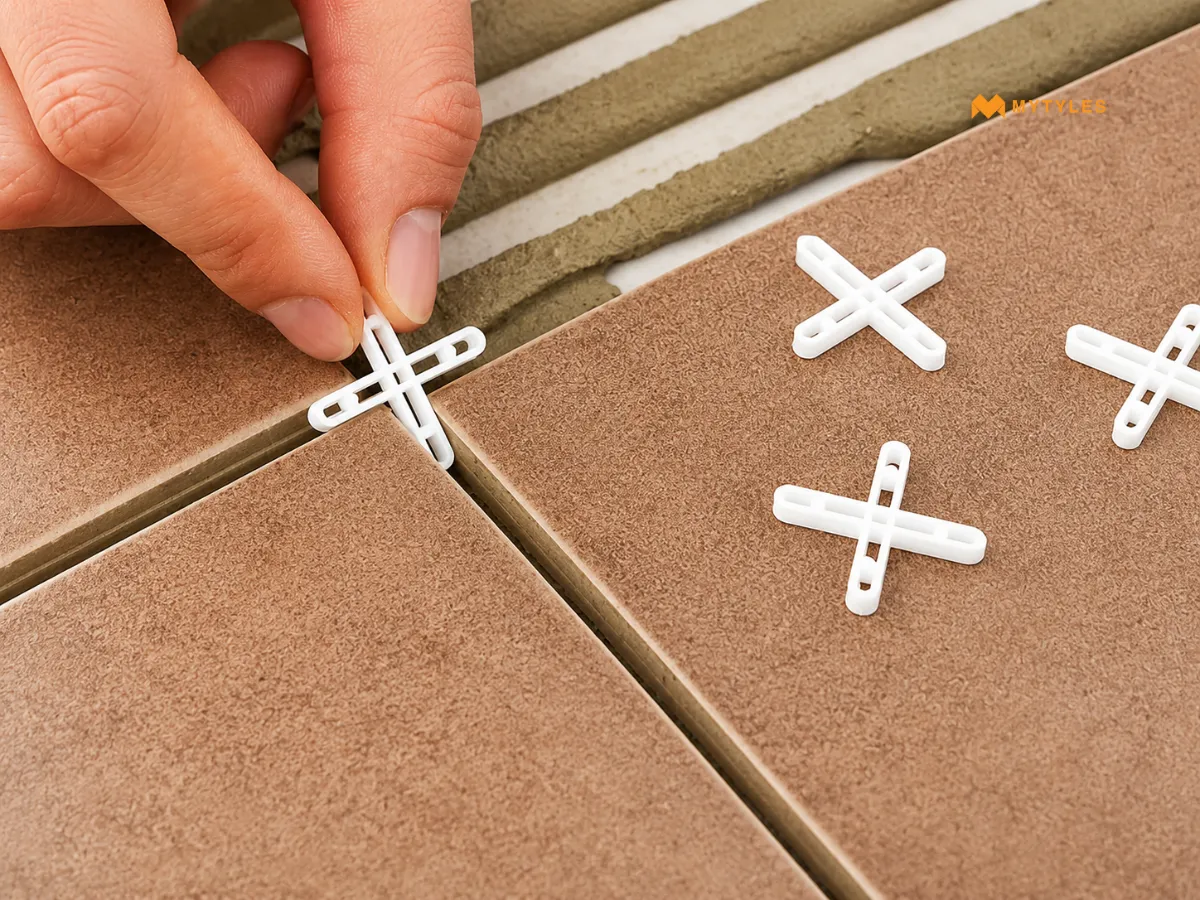
Tile spacers are small plastic tools shaped like crosses, T’s, or wedges that help maintain equal gaps between tiles during installation. These gaps allow for even grout lines and accommodate tile expansion, preventing cracks or lifting over time. Using spacers ensures perfect alignment, saves time, and enhances durability. The spacer size you choose influences the overall look, narrow gaps create a sleek, modern style, while wider ones suit rustic or patterned designs.
Tile Spacers Sizes: Choosing the Right One for Your Project
Tile spacer size impacts both design and durability. Even a millimeter difference can change your project’s look, sleek, balanced, or bold. Choosing the right size depends on tile type, layout, and setting. Here’s how different spacer sizes influence your final finish.
1mm Tile Spacers
Ideal for sleek, modern designs, 1mm tile spacers create nearly invisible grout lines for a smooth, seamless look. Perfect for walls or backsplashes, they give tiles a polished appearance with minimal interruption, best suited for areas emphasizing clean, continuous, and refined aesthetics.
2mm Tile Spacers
A versatile, go-to option, 2mm tile spacers provide balanced spacing for floors or walls. They keep grout lines neat yet visible, defining the layout without overpowering the tiles. If unsure which size to choose, 2mm offers a universally clean, professional finish.
3mm Tile Spacers
3mm tile spacers create noticeable grout lines that highlight individual tiles beautifully. Great for rustic, patterned, or decorative tiles, they add character and structure while offering stronger joints. This size balances visual appeal and practicality, especially for busy or high-traffic areas.
4mm Tile Spacers
Perfect for large tiles, uneven surfaces, or heavy-use areas, 4mm tile spacers allow flexibility and reduce cracking risks. Their bold grout lines enhance durability and give a strong, structured look, ideal for floors, patios, or outdoor spaces demanding strength and style.
How to Use Tile Spacers: A Step-by-Step Guide
Tile spacers keep grout lines even and tiles aligned for a clean, professional finish. Without them, tiles can shift or look uneven. This simple step-by-step guide helps you use tile spacers correctly for durable, neat, and polished results.
Step 1: Plan Your Layout
Start by dry-laying tiles to visualize your layout. Find the room’s center using a measuring tape and mark a straight line or cross. This ensures symmetry, avoids tiny edge cuts, and helps you achieve a balanced, professional-looking tile pattern.
Step 2: Prepare Surface & Adhesive
Clean, dry, and level the surface before tiling. Mix adhesive to a peanut butter-like texture. Spread it evenly over 2–3 square feet using a notched trowel held at a 45° angle for consistent ridges and even tile placement.
Step 3: Place Your First Tile
Position the first tile at your starting point, pressing firmly and wiggling slightly for a strong bond. Use a level to check alignment and flatness, this tile sets the foundation for the rest, ensuring straight, even rows throughout the project.
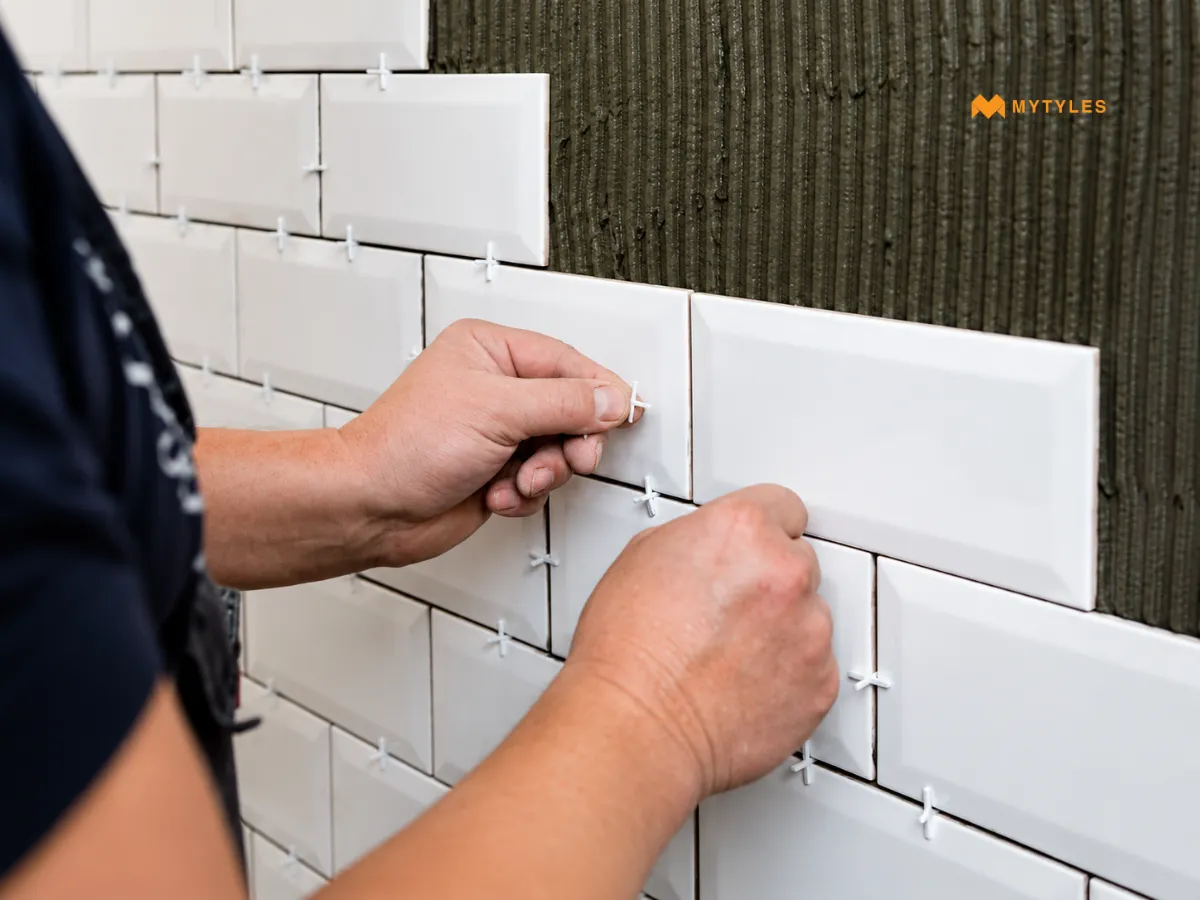
Step 4: Add Tile Spacers
Insert tile spacers between tiles to maintain consistent grout gaps. Use “X” spacers for corners and “T” for staggered layouts. Ensure they’re snug and upright in the adhesive. Commonly, 1/8-inch spacers give a clean, uniform, and balanced tile look.
Step 5: Lay the Next Tiles
Continue laying tiles alongside spacers, pressing firmly and checking each with a level. Work in small sections to prevent adhesive drying. For large tiles, use a leveling system to prevent uneven heights, ensuring smooth alignment across the surface.
Step 6: Check Your Work
After every few tiles, step back and visually inspect alignment. Use a straightedge or level to confirm straight lines. Adjust tiles or spacers immediately before the adhesive sets. Wipe away any excess adhesive between joints using a damp sponge.
Step 7: Cut Tiles as Needed
Measure edges or around obstacles, then cut tiles using a tile cutter or wet saw for clean results. Place cut tiles with spacers just like full ones to maintain consistent grout spacing and a professional, even tile finish.
Step 8: Let Adhesive Set
Allow adhesive to cure for at least 24 hours before walking on tiles. Remove spacers gently after 12–24 hours once tiles are secure. Check product guidelines for timing to ensure proper bonding and prevent movement or uneven drying.
Step 9: Grout and Finish
Prepare and apply grout diagonally using a rubber float, filling gaps evenly. Wipe excess grout with a damp sponge, rinsing often. Let it set for 24–48 hours, then seal joints for added protection and a long-lasting polished finish.
What Is a Tile Leveling System?

A tile leveling system keeps tiles flat, aligned, and free from uneven edges (lippage) during installation. It uses clips, wedges, or caps to hold tiles firmly while the adhesive sets, ensuring a smooth, seamless finish. Especially useful for large-format tiles or uneven subfloors, it saves time and effort while enhancing precision. Ideal for both professionals and DIYers, it works alongside spacers to deliver flawless, professional-quality tile results.
Common Tile Spacer Mistakes and How to Avoid Them
Tile spacers look simple but using them wrong can cause uneven lines or cracks. Here are common mistakes and quick tips to ensure a perfect tile finish.
Mistake | Description | How to Avoid |
Wrong Spacer Size | Using floor or wall tile spacers too big or small disrupts grout lines and design balance. | Choose spacer size based on tile type and style; test layout before tiling. |
No Layout Planning | Skipping a dry layout causes uneven spacing and awkward edge cuts. | Dry-lay tiles, mark centerlines, and plan pattern alignment in advance. |
Misplaced/Skipped Spacers | Missing or flat spacers lead to shifting and uneven joints. | Stand spacers upright at tile corners and double-check each section. |
Removing Too Late | Hardened adhesive traps spacers, damaging tiles or grout. | Remove spacers gently after 12–24 hours, before full curing. |
Ignoring Leveling | Only using spacers can cause uneven tile height (lippage). | Use a leveling system with spacers, especially for large tiles. |
Not Checking Alignment | Crooked lines are hard to fix once adhesive sets. | Check every few tiles with a level and adjust early. |
Adhesive on Spacers | Dried adhesive makes spacers hard to remove or reuse. | Wipe off adhesive regularly using a damp sponge. |
Flawless Tiling Starts with Spacers
Tile spacers are your secret to flawless grout lines and a pro-level tiling finish. Pick 1mm for sleek, seamless walls, 2mm for versatile projects, 3mm for bold, defined tiles, or 4mm for durable floors to match your style. Plan your layout, place spacers carefully, and check alignment to avoid uneven gaps or lippage. With attention to detail, your tiles will dazzle. For premium spacers and tiles, visit MyTyles. Our high-quality products simplify the tiling process and guarantee stunning, long-lasting results.
Expert Reviewed by Biren Agrawalla
Biren Agrawalla, the Founder of MyTyles with over 10 years of experience across tile, retail, and home decor. Driven by a passion for tiles and a deep understanding of customer behaviour, he has spent his career transforming how people discover and buy tiles online. Biren combines practical retail insight with modern digital solutions to make tile shopping smarter, more intuitive, and design focused. At MyTyles, he champions a customer first approach, ensuring every experience from browsing to buying is reliable, seamless, and inspiring.

What happens if I don’t use tile spacers?

Without spacers, tiles may shift, creating uneven grout lines or misaligned patterns. This can lead to an unprofessional look, weak grout joints, or tile damage. Use spacers to ensure consistent gaps and a polished, durable finish.
Can tile spacers be reused for multiple projects?
Yes, most spacers are reusable if cleaned properly. Remove adhesive residue with a damp sponge before it hardens, and store them carefully to maintain their shape for future tiling jobs.
How do I choose between X and T spacers?
X spacers are ideal for corners where four tiles meet in a grid pattern. T spacers work best for offset or staggered layouts, like brick patterns, ensuring proper alignment at tile edges.
Do tile spacers work with all tile materials?
Yes, spacers work with ceramic, porcelain, stone, and glass tiles. Ensure the spacer size matches the tile’s edge type (rectified or non-rectified) for consistent grout lines.
Can I remove tile spacers before the adhesive sets?
It’s best to wait 12-24 hours until the adhesive is partially set. Removing spacers too early risks tile movement, leading to uneven gaps. Follow adhesive instructions for timing.

ABOUT THE AUTHOR
Aditi Bardhan
I'm Aditi Bardhan, a professional content writer with over five years of experience creating SEO-driven, research-backed content across multiple industries. I specialise deeply in the tile and surface materials industry, crafting high-converting content for homeowners, architects, interior designers, and trade professionals. My work is grounded in technical research, design understanding, and consumer behaviour insights, enabling me to simplify complex concepts, highlight material benefits, and help brands build authority in the tile and construction space.
Latest Blogs By MyTyles